How to Grow Black-Eyed Susans from Seed: Step-by-Step Guide to Planting and Caring for These Bright Blooms!
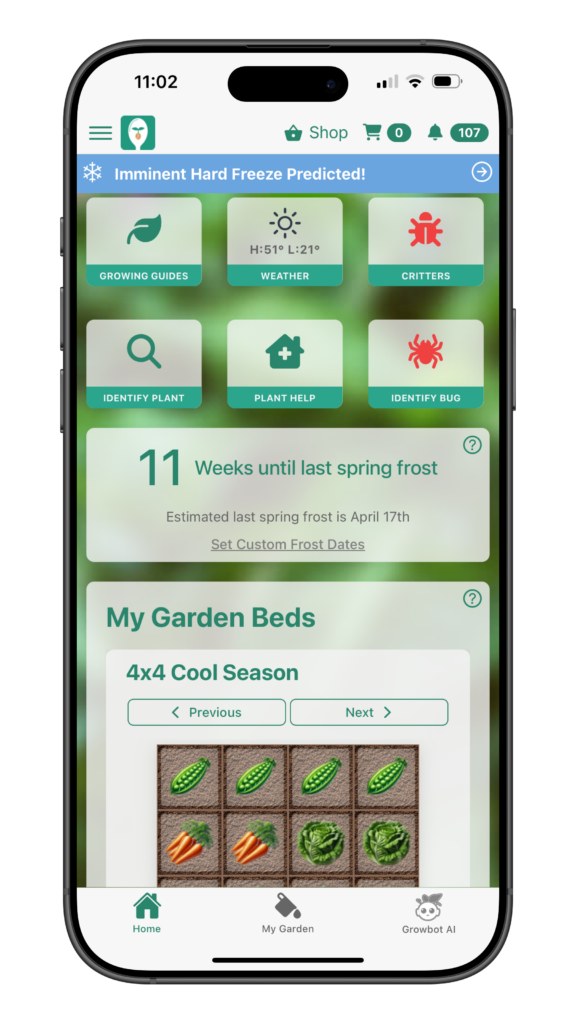
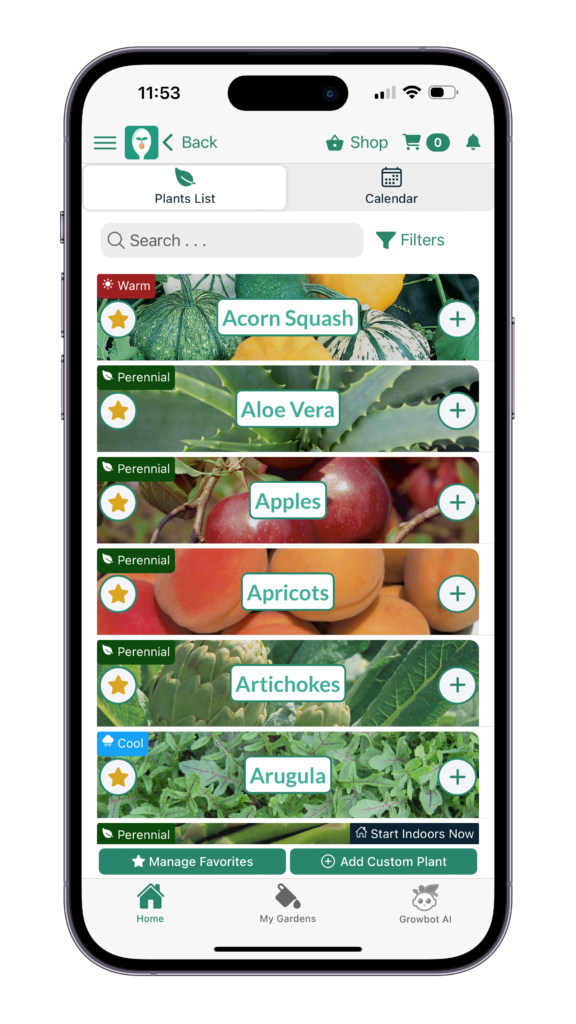
Black-eyed susans (Rudbeckia hirta) are bright, cheerful flowers that are a must-have for any garden. Learning how to grow black-eyed susans from seed is simple and rewarding, making them a favorite among gardeners. Their vibrant yellow petals and dark centers attract pollinators like bees and butterflies, making them not only beautiful but beneficial for your garden ecosystem. Whether you’re a seasoned gardener or just starting, growing black-eyed susans from seed is simple and rewarding. Here’s a step-by-step guide to help you get started. And don’t forget, you can find all this information and more in our Seed to Spoon app!
1. Choose the Right Time to Plant
Timing is crucial for successful growth, as planting at the right time ensures healthy establishment and optimal blooming.
Black-eyed susans can be planted at different times of the year, depending on your goals:
Spring Planting: Start seeds indoors 6-8 weeks before the last frost or sow directly outdoors 2-4 weeks before the last frost.
Summer Planting: Seeds can be sown directly in early to mid-summer to establish plants for late-season blooms.
Fall Planting: In many regions, you can plant seeds 6-8 weeks before the first frost to allow them to establish roots. They will overwinter and bloom the following year.
2. Prepare the Planting Area
Choose a location with full sun, as full sun locations are ideal for black-eyed susans to thrive with 6-8 hours of direct sunlight daily. The soil should be well-draining and not overly rich—these flowers are quite adaptable to a variety of soil conditions. For the best results, loosen the soil to a depth of 6-8 inches and mix in some compost to improve drainage and fertility.
3. Plant the Seeds
Black-eyed susan seeds are tiny, so they only need to be lightly covered with soil:
Sprinkle the seeds evenly over the prepared soil or seed-starting tray.
Cover with a thin layer of soil, about 1/16 to 1/8 inch deep. Press gently to ensure good seed-to-soil contact.
Water the area lightly to moisten the soil.
4. Watering and Germination
Keep the soil consistently moist but not soggy during the germination period, which can take 7-30 days depending on conditions. Water gently to avoid displacing the tiny seeds. Once seedlings emerge, gradually reduce watering to allow the soil to dry slightly between waterings.
5. Transplanting (If Starting Indoors)
If you started your seeds indoors, transplant them outdoors once they have 2-3 sets of true leaves and after the danger of frost has passed. Space the plants 12-18 inches apart to allow room for growth and good airflow.
6. Care and Maintenance
Watering: Once established, black-eyed susans are drought-tolerant and require only occasional watering during dry spells.
Fertilizing: These plants don’t need much fertilizer. A light application of compost in the spring is usually sufficient.
Deadheading: Remove spent blooms to encourage continuous flowering and to prevent unwanted self-seeding.
7. Saving Seeds
At the end of the growing season, you can save seeds for future planting:
Allow the flower heads to dry completely on the plant.
Cut the heads and place them in a paper bag.
Rub the heads to release the seeds, separate from the chaff, and store them in a cool, dry place.
Why Grow Black-Eyed Susans?
Black-eyed susans add a burst of color to your garden from summer through fall. They’re easy to grow, attract pollinators, and can even be used in cut flower arrangements. With minimal effort, you’ll have a stunning display that keeps coming back year after year.
Get More Tips in the Seed to Spoon App!
Download the free Seed to Spoon app to access detailed growing guides, planting schedules, and companion planting tips for black-eyed susans and hundreds of other plants. The app also features tools to help you plan your garden, track harvests, and identify pests—making it an essential resource for gardeners of all levels.
For detailed growing guides, planting schedules, and companion planting tips, download the Seed to Spoon app. Our app includes everything you need to grow black-eyed susans and hundreds of other plants with confidence. Whether you’re planning your garden, identifying pests, or tracking your harvests, Seed to Spoon has you covered!
Learn more about growing over 100 different foods, including how to manage various pests in our FREE iOS, Android, or new Universal Web App!

Carrie Spoonemore, co-founder of “From Seed to Spoon,” stands as a beacon of inspiration for gardeners and health enthusiasts alike. Her journey alongside her husband, Dale Spoonemore, in creating a platform that demystifies gardening and promotes a healthier lifestyle, has made a significant impact on individuals around the globe. Through the “From Seed to Spoon” app, Carrie has dedicated herself to empowering people to take control of their health and environment by growing their own food.
With a profound belief in the power of gardening to improve mental and physical health, Carrie’s contributions to the Seed to Spoon blog reflect her holistic approach to wellness. Her articles often focus on the nutritional benefits of homegrown fruits and vegetables, organic gardening practices, and the mental health benefits of spending time in nature. Carrie’s expertise in health science shines through in her detailed discussions on how specific plants can contribute to a balanced diet and overall well-being.
Carrie’s passion for gardening is deeply intertwined with her commitment to family and community wellness. She frequently shares personal stories of how gardening has brought her family closer together, offering practical tips for involving children in gardening activities and making it a fun, educational experience. Her writing encourages families to explore gardening as a means of spending quality time together while learning about nature and sustainability.
In addition to gardening advice, Carrie’s contributions to the blog include insights into the use of technology to enhance the gardening experience. She has played a crucial role in designing the “From Seed to Spoon” app to be user-friendly, ensuring that users of all ages and backgrounds can navigate the complexities of gardening with ease. Her vision for the app is not just as a gardening tool but as a vehicle for change, inspiring individuals to adopt a more sustainable lifestyle by growing their own food.
Carrie Spoonemore’s presence on the blog is marked by her compassionate approach to teaching and her unwavering belief in the transformative power of gardening. Her work continues to inspire a community of gardeners to pursue a healthier, more sustainable way of living, proving that with the right tools and knowledge, anyone can become a gardener and advocate for their health and the planet.


