Friends that are interested in trying to grow some of their own food have reached out to me and asked what they should do to get started. Much like I was when I started, they’re often overwhelmed by all of the various information out there about how to grow food and have no idea where to start. Here are the four simple steps I give anyone that asks me what they should do to get started with growing some of their own food:
Step 1: Cover the Bermuda grass with 2 layers of cardboard and wood chips
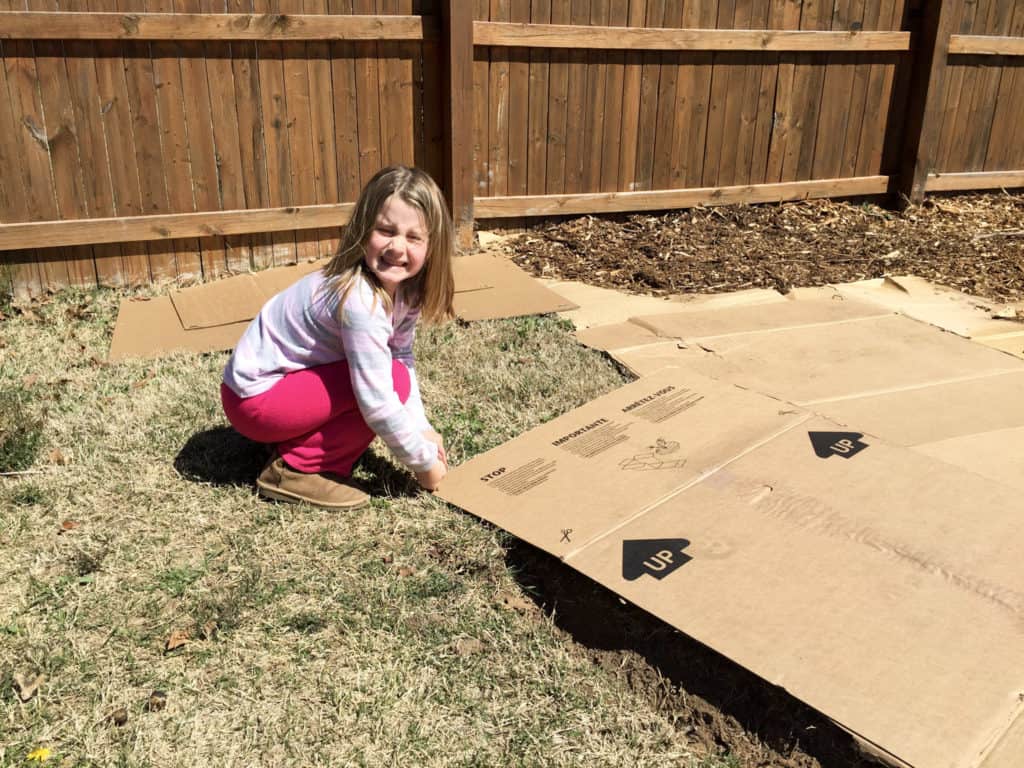
A lot of yards in the United States have Bermuda grass. It’s important to know up front that Bermuda grass is a nightmare to deal with in the garden. It spreads vigorously and can grow right through the black landscaping fabric that’s commonly used.
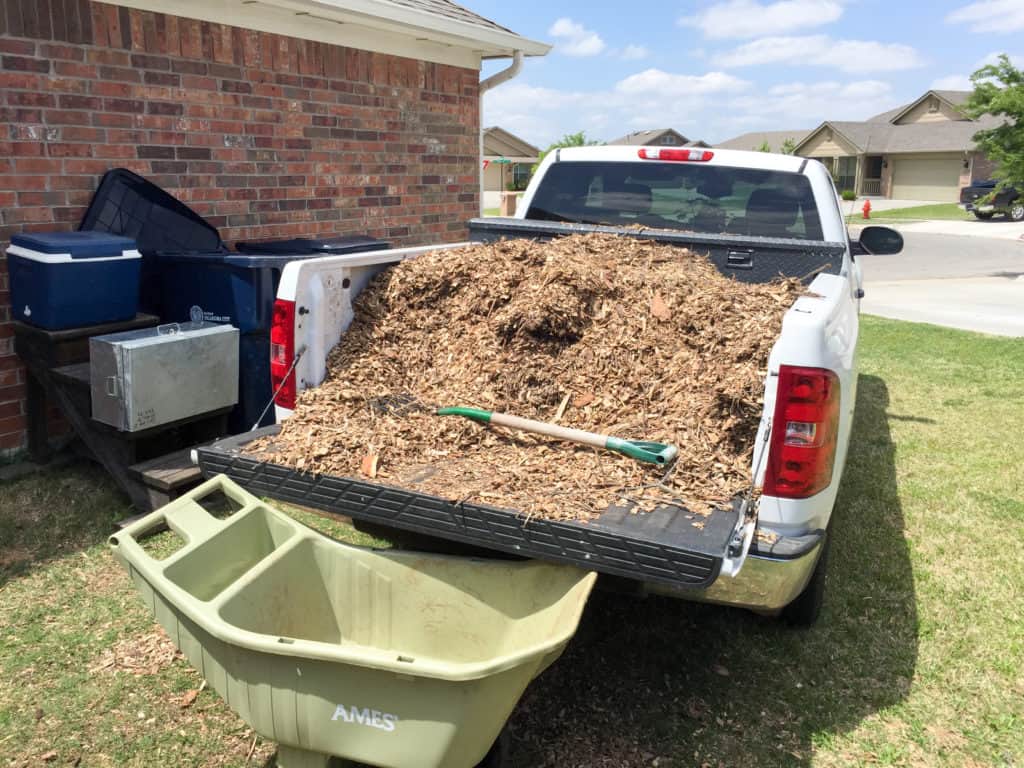
However, I’ve found cardboard to be a much better solution for me and it has pretty much eliminated the Bermuda grass problem in my garden. My first beds were surrounded by Bermuda grass and I was constantly fighting it off. Once I surrounded the area with cardboard and laid a foot of mulch on top of it, Bermuda has pretty much disappeared from the garden. I recommend having at least a 2-foot border of wood chips around each bed in order to keep the Bermuda out.
Wood chips are easy to get for free! Check out your local county compost facility to see if they have any available wood chips! Another option is this service that will deliver the wood chips directly to your driveway for free!
Step 2: Build a box or buy a raised bed container
The next step is to create your growing area! You can either build a simple box or purchase a raised bed of your own.
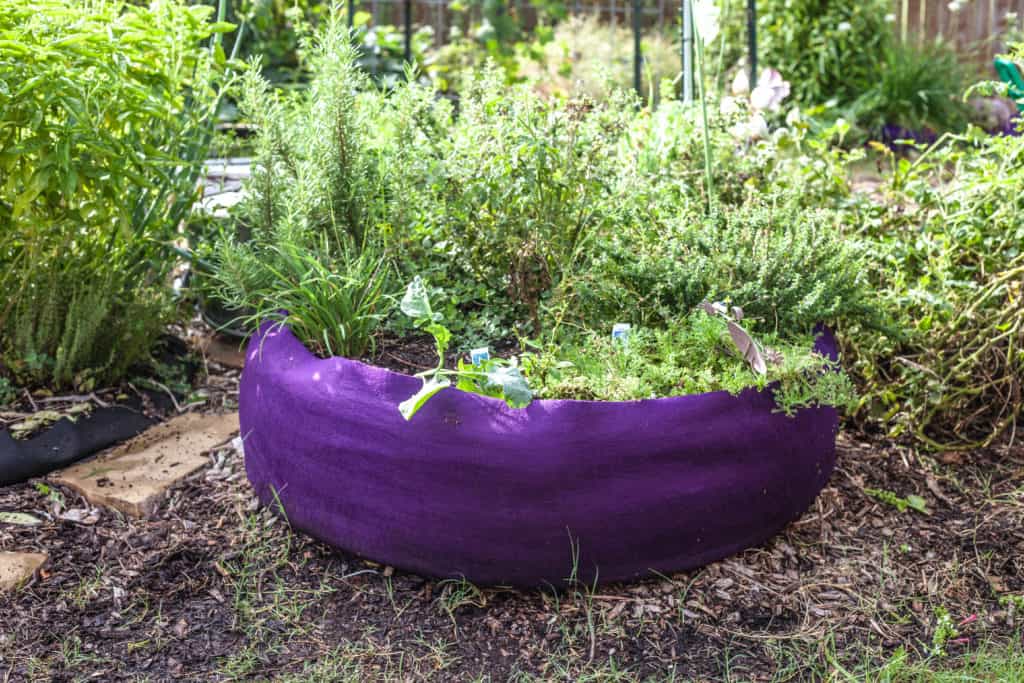
Our personal favorite is using fabric raised beds called Smart Pots. They are extremely durable and perform really well! You simply unfold and you have a garden bed!
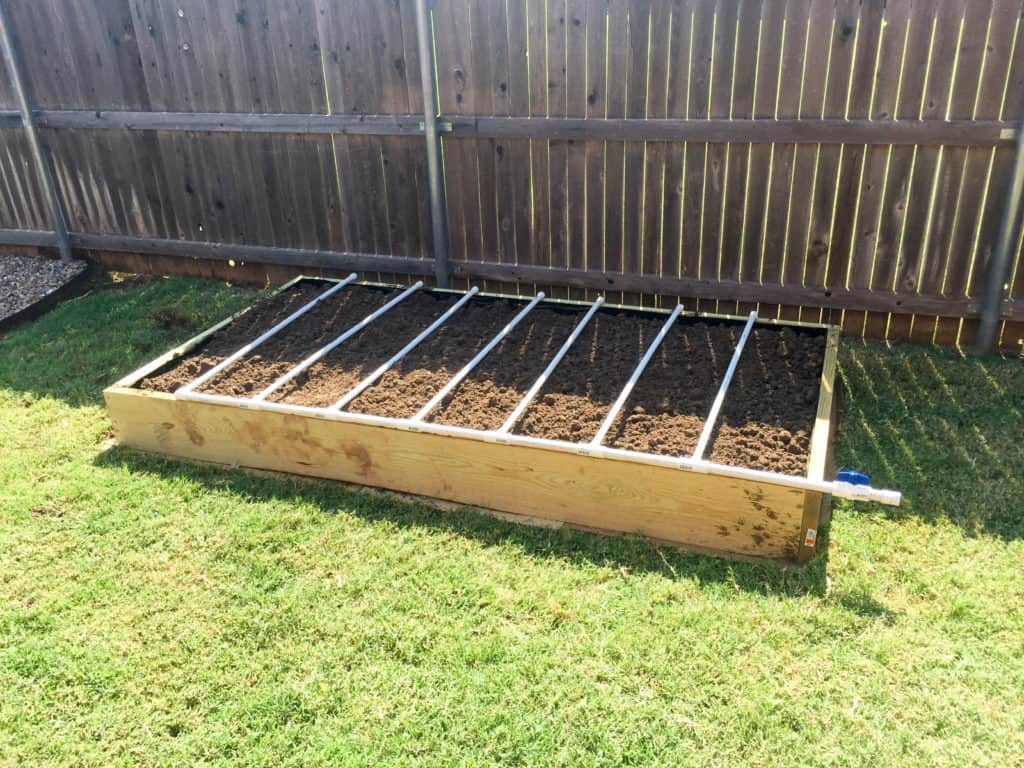
If building your own, I would recommend building them either 4×4 or 4×8, but you can build them however you want. I’d caution against building them wider than 4 feet or else you’ll have trouble reaching the middle. I also recommend lining the inside of the box with black plastic sheeting to help make the wood last longer. There’s also plenty of debate about the chemicals in pressure treated wood coming in contact with the soil. You can use cedar if you want to avoid the issue altogether. I’ve always built mine out of either the cheapest deal I could find on lumber or on salvaged lumber. I paint the outside of them to help protect from the elements and line the inside with plastic.
You could also build all the raised beds out of free shopping pallets. Be sure to get the ones with a “HT” stamp meaning they’re heat treated and weren’t used with chemicals.
Step 3: Fill the raised bed with a high-quality soil mix (DIY or store-bought)
This is where you have a choice to make. You can either save money and build the soil mix yourself or you can buy bagged soil and fill the bed. Pick your path from here and calculate how much you’ll need using our free calculator app!
DIY
This is the “Mel’s Mix” from Square Foot Gardening. Mix together these three ingredients together in equal parts:
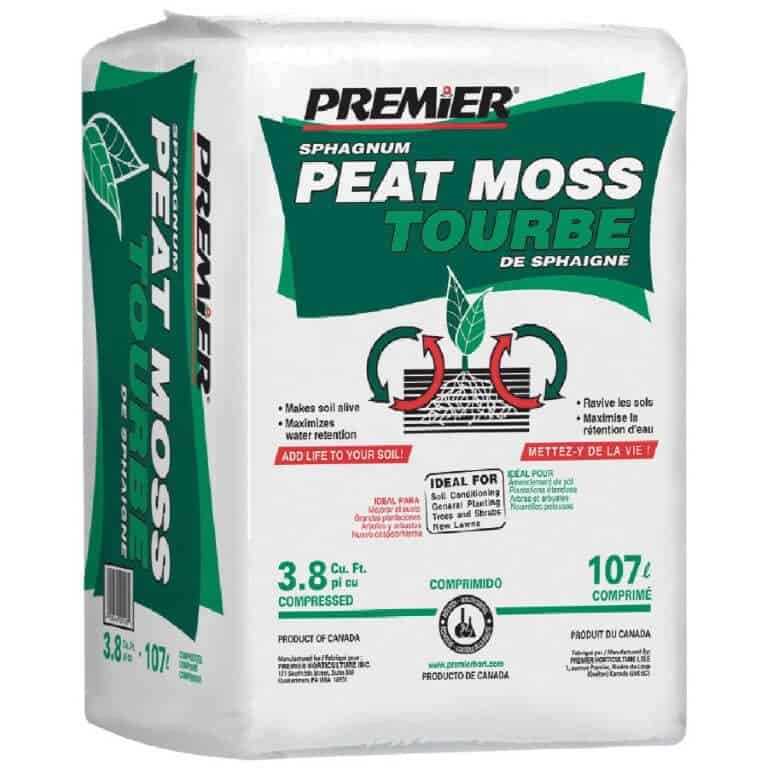
- Peat moss/Coconut coir – You can find peat moss at most any hardware store and or store with a garden center. Coconut coir is a great option as well.
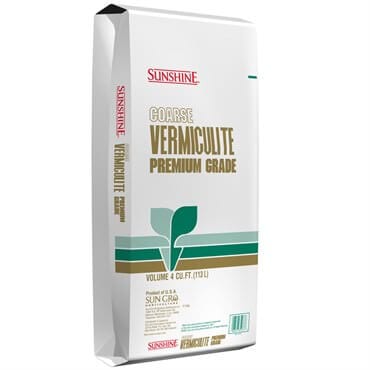
- Vermiculite – Buy the 4 cu. ft. bags from a local nursery. I buy them for around $30 from a local nursery.
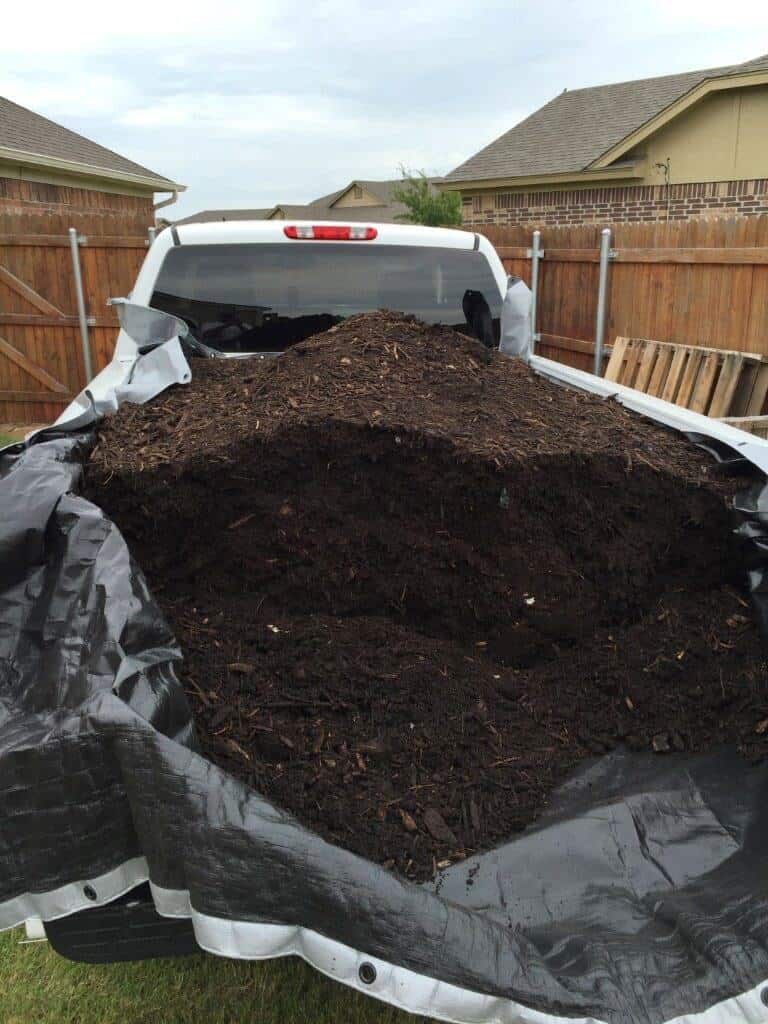
- Compost – You can make your own compost, but that’s a topic all to itself. I recommend buying compost in bulk to anyone that’s just starting out. You may also be able to find somewhere that will deliver compost if you don’t have access to a truck.
Check out this video showing an easy way to mix the ingredients together using a compost tumbler. It’s saved me hours of work compared to mixing on a tarp!
Store-bought
Store-bought soil mix will definitely be easier, but will cost you much more than buying and mixing your own mix. Many garden centers carry something that’s pretty close to the bagged version of the ingredients above. You could use pretty much any potting soil you want, but I recommend using something that isn’t packed full of chemical fertilizer.
Step 4: Pick what you want to grow and get started!
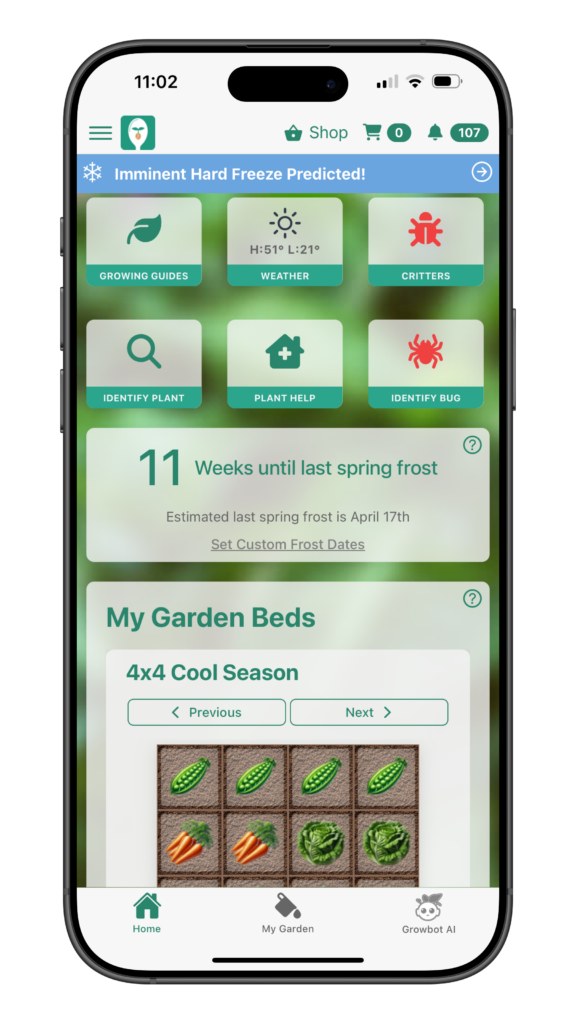
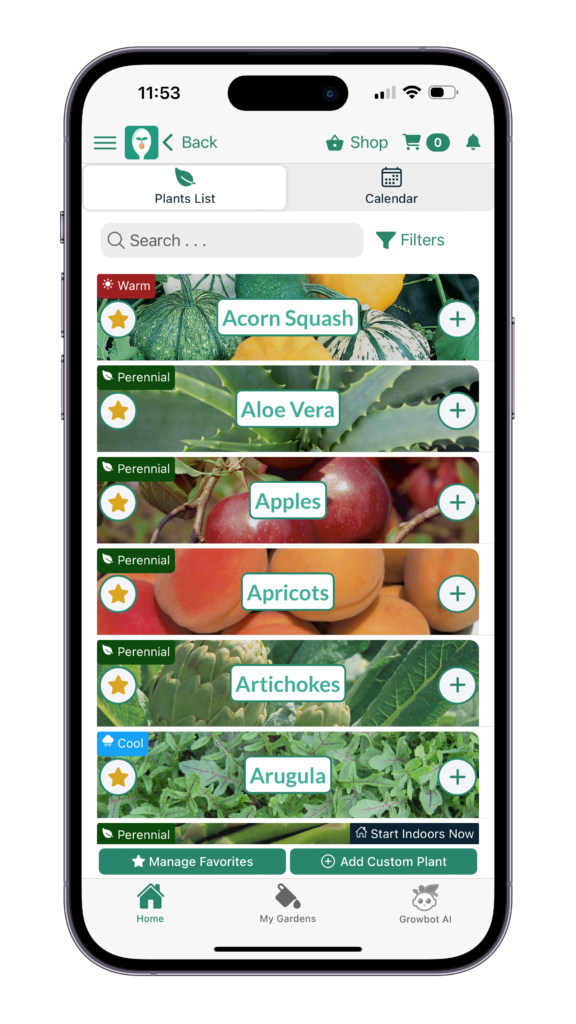
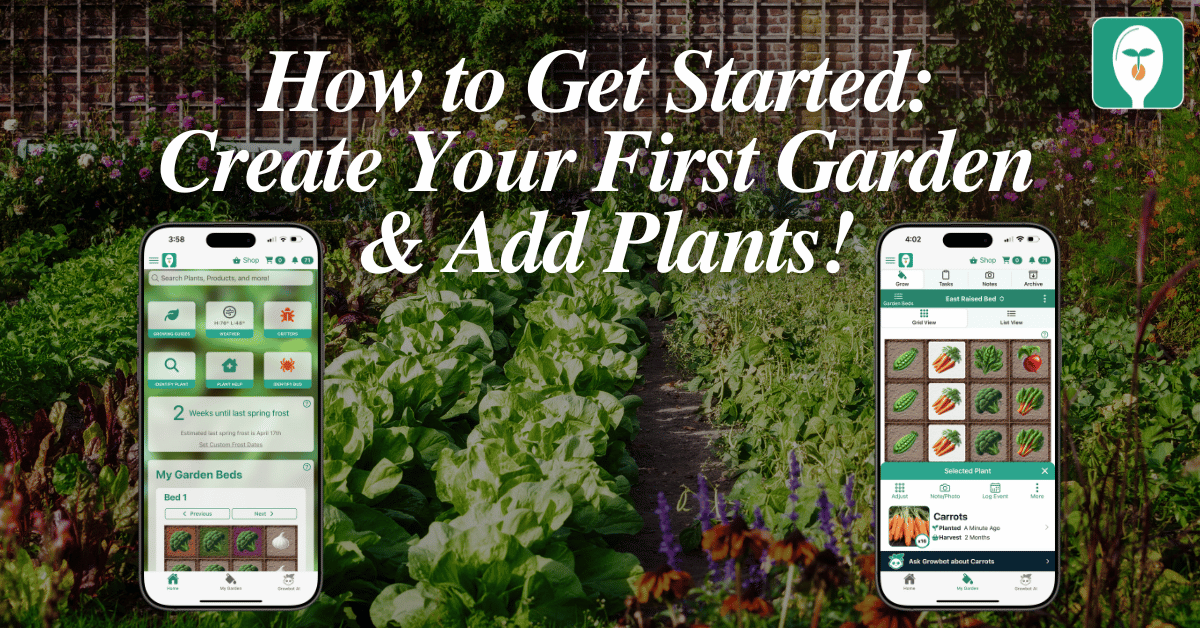
Here’s the best part! Check out our blog post talking about the best plants to start with if you aren’t sure what to start with. Let our app help to guide you through selecting something to grow! Our app will help you select from plants that are beneficial for 26 different health-related reasons for growing if you’re not sure what you should grow! Our app will give you customized planting dates based upon your GPS location and walk you through how to start growing your own food from seed to spoon!
Learn more about growing over 100 different foods, including how to manage various pests in our FREE iOS, Android, or Universal Web App!
Dale Spoonemore is the visionary co-founder of “From Seed to Spoon,” a groundbreaking platform that has revolutionized the way individuals approach gardening. His journey from a novice gardener to a leading advocate for sustainable living and mental wellness through gardening is a source of inspiration to many. Dale’s personal transformation and dedication to making gardening accessible and enjoyable have propelled “From Seed to Spoon” to become a vital tool for gardeners of all skill levels.
Dale’s venture into gardening began as a personal quest to improve his family’s health and well-being. Faced with the challenges of learning how to garden without prior experience, Dale turned his journey into an opportunity to simplify gardening for others. He leveraged his background in technology to develop the “From Seed to Spoon” app, which guides users through the process of starting their own gardens with ease. The app covers everything from selecting the right plants for your region to tracking your garden’s progress.
Beyond the app, Dale’s contributions to the blog reflect his deep understanding of gardening, his commitment to organic practices, and his belief in the therapeutic benefits of connecting with nature. His posts are rich with practical advice, personal anecdotes, and a clear vision for a healthier world through gardening. Dale often shares innovative gardening techniques, ways to incorporate technology into gardening, and tips for growing a wide variety of plants.
Dale’s passion for gardening is matched by his advocacy for mental health. He openly discusses how gardening has been a crucial part of his own mental health journey, offering a powerful testament to the restorative and calming effects of nurturing plants. Through his work, Dale aims to inspire others to discover gardening as a pathway to physical and mental health, sustainability, and a deeper connection with the environment.
As a key voice on the seedtospoon.net blog, Dale Spoonemore continues to educate, inspire, and empower individuals around the globe to start their own gardening adventures. His story is not just about planting seeds in the ground; it’s about planting seeds of change in communities, encouraging a shift towards more sustainable living practices, and fostering a global movement of wellness through gardening.




15 thoughts on “How to Start Growing Your Own Food in 4 EASY Steps!”
I used to live in Noble. I picked up a load of good black composted soil one year from the Norman composting plant. Looked like black gold. But…
They compost the tree, shrub, and other organic waste from the city of Norman waste pickup.
Including pesticides, petroleum products, insecticides, you name it that people use on their yards, gardens, and splash up from the city streets.
The black, earthy compost I added to my garden plot ensured that NOTHING grew there for two years, including weeds, until I dug it all out and started from scratch. WITHOUT “compost” from the city poison plant.
Mulch? Sure. But where did the mulch come from? What chemicals were in it BEFORE it was mulched?
Poor advice to give new gardeners…..
I think you misunderstood. We use these wood chips for our pathways where we used to have Bermuda grass. We don’t use these in our raised beds. Like we said above, we use Mel’s mix for the raised beds. Here’s a blog post that goes into detail about the exact issue you’re describing.
Do you share anywhere why you use raised beds or smart pots rather than simply straight in the ground? Because in town?
Great article!!! I saved it on Pinterest. I have a raised garden, but used cement blocks (ones w/2 holes). I read that these have chemicals that can leak out. Ugh. I have had it for several years, so I guess there is none left??? I read that you can paint them w/?, to protect chemicals from leaking. Does anyone know what to paint them with???? Please email me at kahjax@yahoo.com to reply. It is appreciated. I love this app and emails!!
Hello, I really enjoyed reading your article about how to start growing foods/vegetables, I found it very helpful. Thank you, Richard
Thank you for sharing this. Healthy is very essential nowadays so it’s really important to know this kind of things.